Shira Day Hike
We recommend Shira
Moshi – Londorosi
3 hours drive
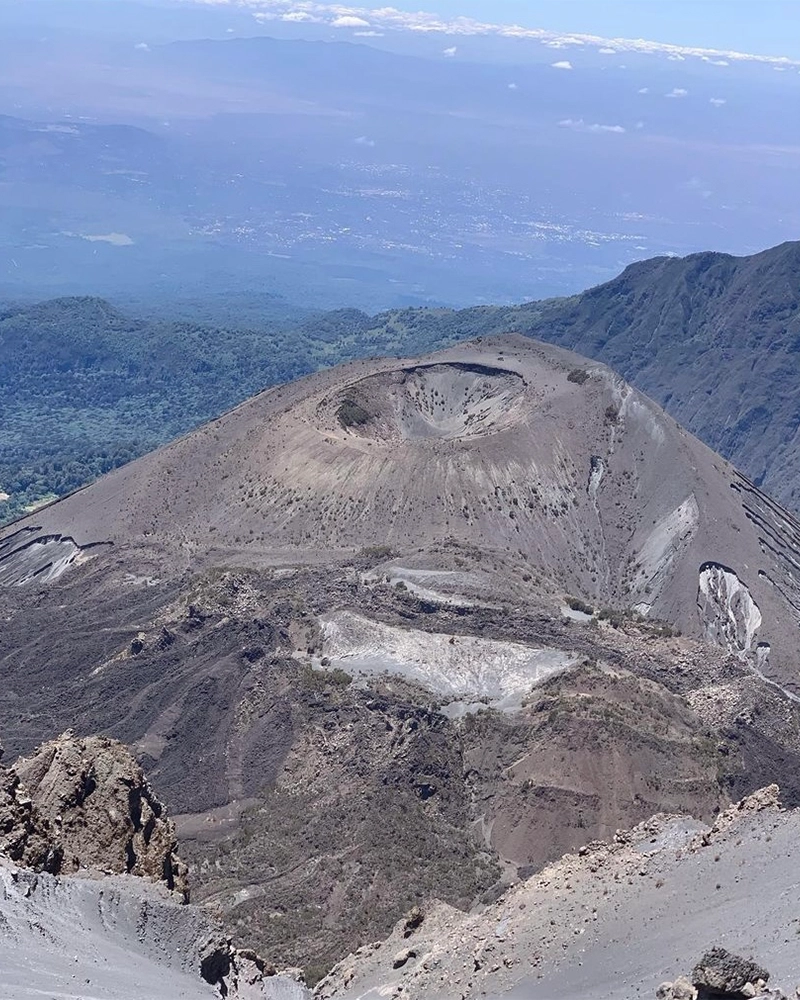
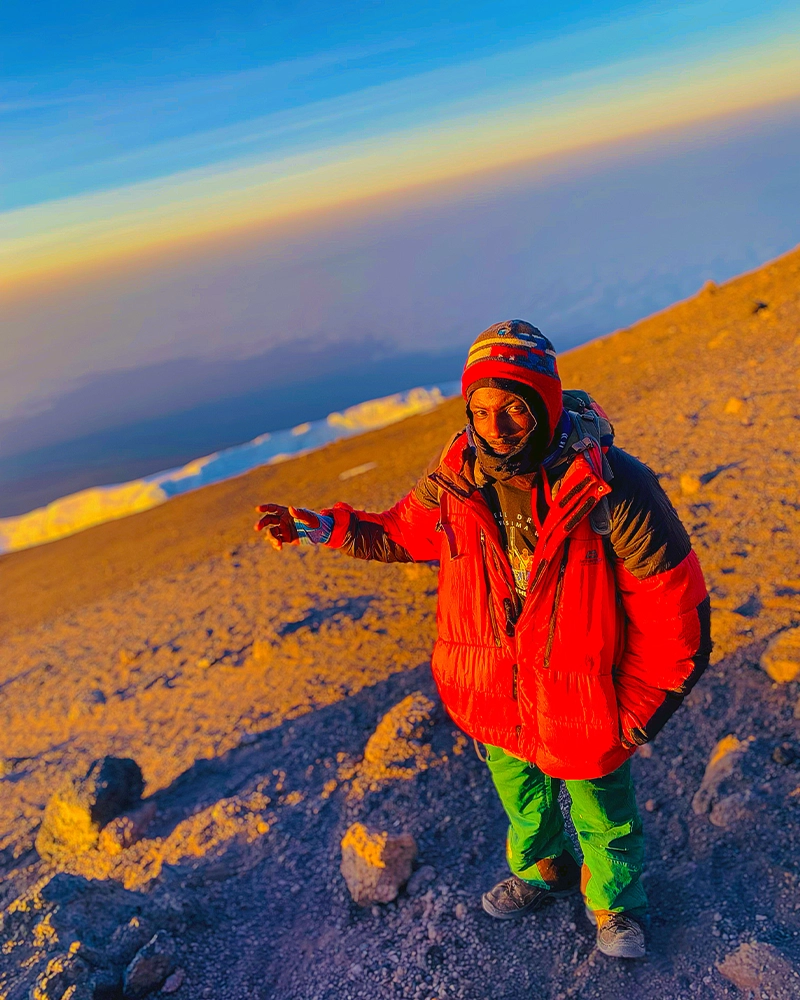
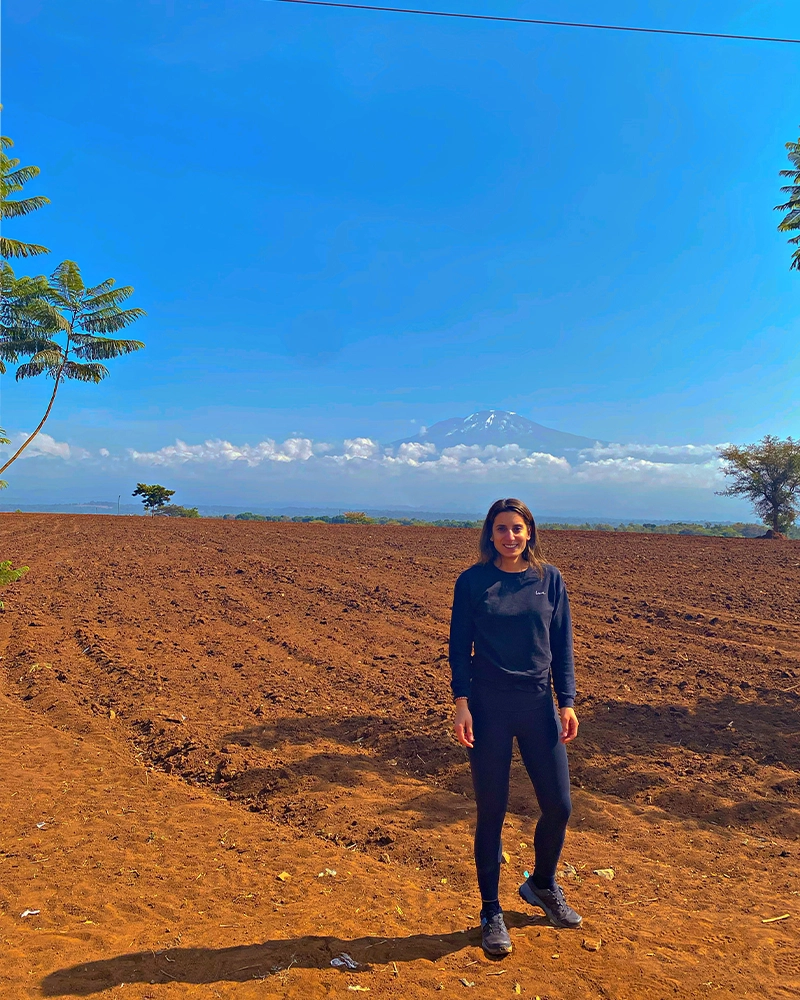
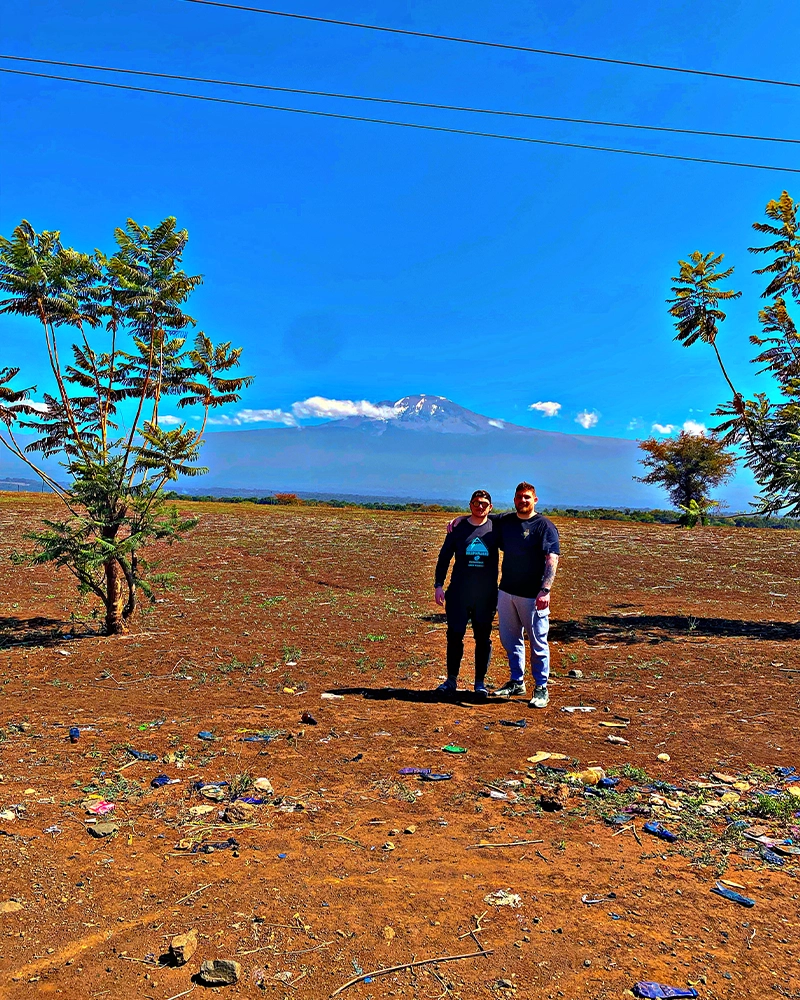
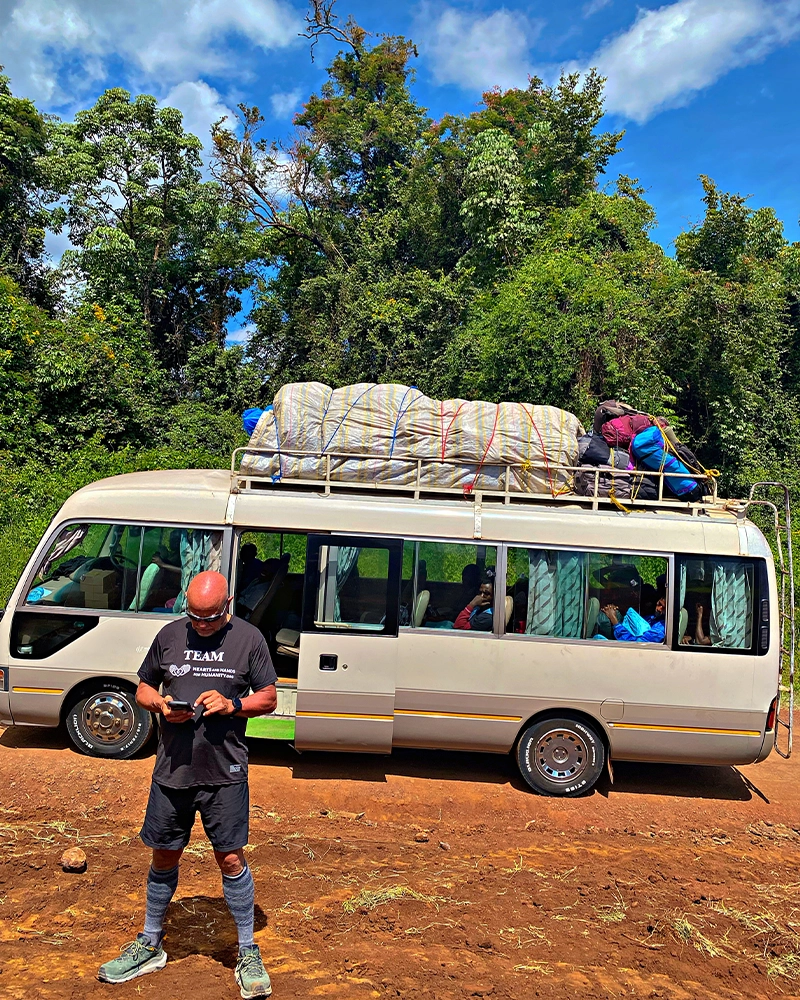
Early in the morning of your Kilimanjaro day trip, we will pick you up at your hotel. An active day in Tanzania’s wilderness area awaits. The drive to your destination of West Kilimanjaro takes you through a forest reserve, where you can look out for Colobus Monkeys in the trees. Your hike through the beautifully rugged landscape of Shira Plateau starts at 3,500 m above sea level. Get out of the car, lace up your shoes and take in the sounds, smells, and colours of Tanzania’s stunning wilderness. Along different trails and accompanied by a ranger, you can enjoy views of Kibo, Kilimanjaro’s highest peak, and its northern glaciers, when the weather permits. The vast plains of neighbouring Amboseli National Park in Kenya and the deep gorge of the Simba River contrast the views of the world’s highest free-standing mountain. When you reach the northern rim of Shira Crater, take a quick stop at different observation points and see the volcanic cones dotting the landscape below. Hike at your own pace and enjoy a picnic lunch under the open sky along the way. It’s a moderate hike and you don’t need to be an athlete to be able to enjoy it. However, at 3,500m the air is thinner, so pace your step, enjoy the untouched landscapes and the presence of the mighty Kilimanjaro. After a 4hours hike or earlier, if your legs get tired. We take you back to your hotel early evening.